
Welcome to the Little Sew and Sew manual, your guide to mastering the Michley LSS-505 mini sewing machine․ This comprehensive manual covers setup, threading, and basic operations, ensuring a smooth sewing experience for beginners and experienced users alike․ Discover how to unlock the full potential of this portable, multifunctional sewing machine with detailed instructions and care tips․
Overview of the Little Sew and Sew Mini Sewing Machine
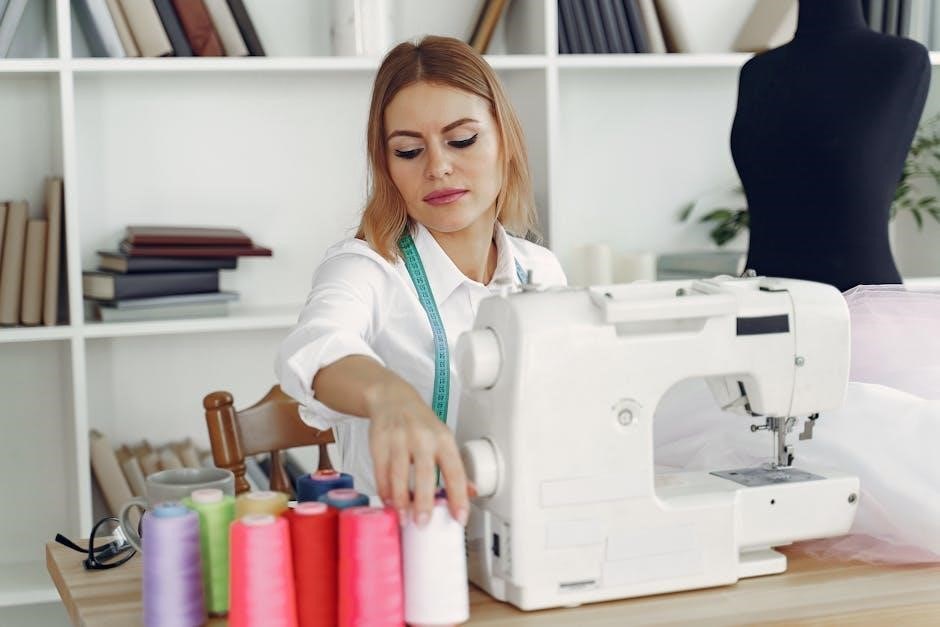
The Little Sew and Sew mini sewing machine, model LSS-505, is a compact, portable, and multi-purpose sewing device designed for quick and efficient sewing tasks․ It is ideal for small projects, repairs, and crafting․ The machine features a user-friendly interface with basic controls, making it accessible to both beginners and experienced sewers․ Its lightweight design allows for easy transportation, while its affordable price makes it a great option for hobbyists․ The machine comes with essential accessories and a detailed instruction manual to ensure smooth operation and versatility in various sewing applications․
Importance of the Instruction Manual for Effective Usage
The instruction manual is crucial for maximizing the potential of your Little Sew and Sew mini sewing machine․ It provides step-by-step guidance on setup, threading, and operation, ensuring safe and efficient use․ The manual includes diagrams and troubleshooting tips to help users overcome common issues, such as thread jamming or uneven stitches․ By following the manual, users can maintain the machine’s performance, extend its lifespan, and achieve professional-quality results in their sewing projects․

Key Features of the Little Sew and Sew Sewing Machine
The Little Sew and Sew machine offers portability, a compact design, and multifunctionality, making it ideal for various sewing tasks․ Its user-friendly interface ensures easy operation․
Portability and Compact Design
The Little Sew and Sew machine is designed for portability and convenience․ Its lightweight and compact design makes it easy to carry and store, perfect for small spaces․ The machine’s size allows for effortless transportation, enabling users to sew anywhere, whether at home, in a classroom, or on the go․ This feature is ideal for crafters who need a reliable yet space-saving sewing solution․ Its compactness does not compromise functionality, ensuring efficiency in every stitch․
Multifunctionality for Various Sewing Tasks
The Little Sew and Sew machine is a versatile tool designed for a variety of sewing tasks; It excels at straight stitching, reverse stitching, and adjusting stitch length and tension, making it ideal for both simple and intricate projects․ Whether sewing lightweight fabrics or repairing small items, this machine adapts to meet your needs․ Its multifunctional design ensures efficiency and precision, catering to beginners and experienced sewers alike․ Perfect for crafting, repairs, or DIY creations, it’s a reliable companion for any sewing project․
User-Friendly Interface and Controls
The Little Sew and Sew machine features an intuitive interface designed for ease of use․ Its controls are clearly labeled, with a simple hand wheel for needle adjustment and a reverse stitch button for secure seams․ The machine’s compact design includes easy-to-reach tension dials and a straightforward stitch selector․ These user-friendly elements make it accessible for beginners while allowing experienced sewers to work efficiently․ The interface is designed to minimize confusion, ensuring a seamless sewing experience from setup to completion․
Safety Precautions and Guidelines
Always follow safety guidelines when using the Little Sew and Sew machine․ Keep loose clothing tied back, avoid touching moving parts, and ensure the machine is placed on a stable surface․ Regularly inspect the machine for damage and keep it out of children’s reach․ Refer to the manual for detailed safety instructions to ensure safe and effective operation․
General Safety Tips for Operating the Machine
Always prioritize safety when using the Little Sew and Sew machine․ Ensure loose clothing or long hair is tied back to avoid entanglement․ Keep fingers away from moving parts, especially the needle and presser foot․ Place the machine on a stable, flat surface to prevent accidents․ Avoid sewing near flammable materials and keep children away․ Regularly inspect the machine for damage and follow the manual’s guidelines for proper operation․ Never touch electrical components with wet hands, and unplug the machine during maintenance or when not in use․ Consult the manual for detailed safety precautions to ensure a secure sewing experience․
Understanding the Machine’s Safety Features
The Little Sew and Sew machine is designed with built-in safety features to ensure secure operation․ It includes an automatic shut-off mechanism to prevent overheating and an enclosed needle area to reduce injury risk․ The machine also features a protective cover for the bobbin and a secure needle position to avoid accidental contact․ These features, combined with proper usage, minimize hazards․ Always review the manual to fully understand and utilize these safety measures for a safe sewing experience․
Parts and Accessories of the Little Sew and Sew
The Little Sew and Sew includes essential components like the hand wheel, needle, bobbin, and power cord․ Accessories such as extra needles and a sewing kit are also provided to enhance functionality and customization․
Identifying the Machine Components
Familiarizing yourself with the Little Sew and Sew’s components is essential for effective operation․ The machine features a hand wheel for needle control, a bobbin for thread management, and a power switch for operation․ Additional parts include the needle, presser foot, and stitch regulators․ The instruction manual provides clear diagrams and labels to help users identify each part and understand its function․ Proper identification ensures safe and efficient use of the machine for various sewing tasks․
Understanding the Role of Each Accessory
The Little Sew and Sew machine comes with essential accessories that enhance its functionality․ The bobbin holds the bottom thread, ensuring smooth stitching, while the needle is responsible for piercing fabric and creating seams․ The power cord provides the necessary electricity for operation, and the presser foot helps guide fabric evenly․ Additional accessories like spare needles and bobbins ensure continuous sewing․ Each accessory plays a vital role in achieving professional results and maintaining the machine’s performance for various sewing projects․

Setting Up the Little Sew and Sew Machine
Unbox and place the machine on a stable surface․ Raise the needle using the hand wheel and loosen the needle clamp screw to prepare for threading․
Unboxing and Initial Setup
Begin by carefully unboxing the Little Sew and Sew machine, ensuring all components are included․ Locate the instruction manual, power cord, and accessories․ Place the machine on a stable, flat surface, away from direct sunlight․ Before use, inspect the machine for any damage․ Familiarize yourself with the manual to understand the parts and ensure proper assembly․ This step is crucial for safe and effective operation of the machine․
Placing the Machine on a Stable Surface
Position the Little Sew and Sew machine on a flat, firm surface to ensure proper operation․ Avoid uneven or soft surfaces, as they may cause vibration or instability․ Place the machine away from direct sunlight and liquids to prevent damage․ Ensure the surface is clean and free from clutter to maximize workspace․ A stable setup is essential for smooth stitching and optimal performance․ Proper placement enhances safety and extends the machine’s lifespan․
Basic Operations of the Little Sew and Sew
Master the fundamentals of sewing with the Little Sew and Sew machine․ Learn to thread, adjust stitches, and control fabric flow effortlessly for precise results every time․
Threading the Machine Correctly
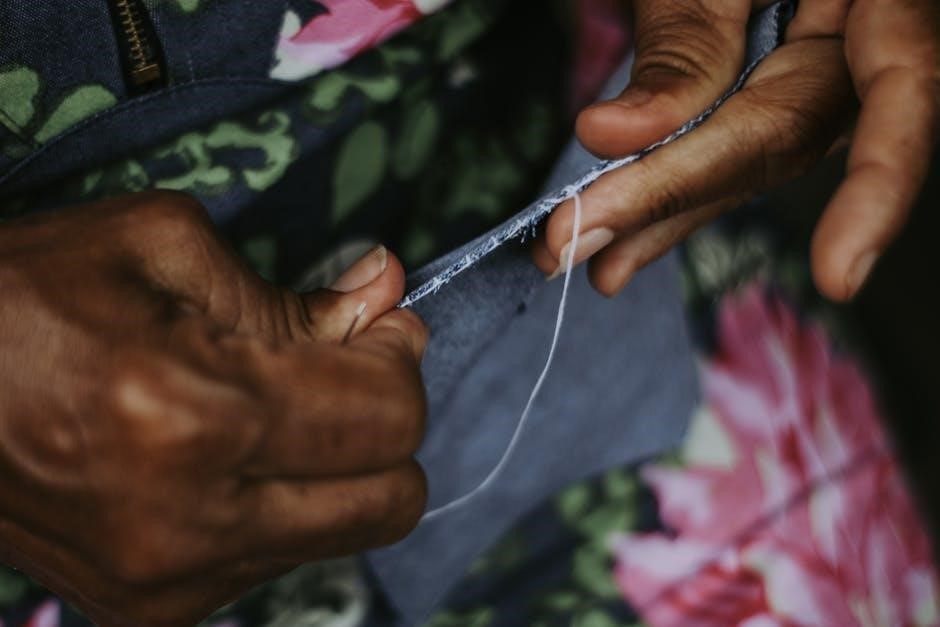
Threading the Little Sew and Sew machine is straightforward․ Begin by turning the hand wheel to raise the needle․ Gently pull the thread through the machine’s tension discs, ensuring it’s taut but not overly tight․ Guide the thread through the take-up lever and needle, leaving a small loop․ Pull the thread gently to secure it․ Proper threading ensures smooth stitching and prevents jams․ Always refer to the manual for detailed diagrams and steps to achieve the perfect thread setup․
Using the Hand Wheel for Control
The hand wheel is a crucial control feature of the Little Sew and Sew machine․ To use it effectively, turn the wheel clockwise to raise the needle to its highest position․ This allows easy access for threading or replacing the needle․ For sewing, gently rotate the wheel to guide the fabric under the needle․ The hand wheel provides precise control over stitching speed and direction, ensuring accurate and smooth sewing operations․ Always use it to manage the machine’s movement for optimal results․
Advanced Sewing Techniques with the Little Sew and Sew
Explore advanced techniques like adjusting stitch length, tension, and using reverse stitch for secure seams․ These features enhance your sewing projects, offering precision and versatility for various fabrics and designs․
Adjusting Stitch Length and Tension
Adjusting stitch length and tension on the Little Sew and Sew machine allows for precise control over your sewing projects․ To modify the stitch length, rotate the dial to your desired setting, ensuring it matches the fabric type․ Tension adjustment is done by turning the small knob near the spool pin․ Proper tension prevents loose or tight stitches․ Always test on scrap fabric before sewing your final piece․ Refer to the manual for exact dial positions and troubleshooting tips to achieve perfect stitches every time․
Using Reverse Stitch for Secure Seams
The reverse stitch function on the Little Sew and Sew machine is essential for securing seams․ Press the reverse stitch button to sew backward, reinforcing the starting and ending points of your stitching․ This feature prevents fraying and ensures a professional finish․ To activate, press and hold the reverse button while gently turning the hand wheel․ Always test this function on scrap fabric to ensure proper operation․ Secure seams are vital for durable and long-lasting sewing projects․

Troubleshooting Common Issues
Addressing common issues ensures optimal performance․ Thread jamming often occurs due to improper threading or tension․ Gently remove tangled thread and rethread the machine․ Loose stitches may result from incorrect tension settings or needle issues․ Adjust bobbin tension or replace the needle if dull or bent․ Regular cleaning prevents dust buildup, which can cause mechanical issues․ Always refer to the manual for step-by-step solutions․
Dealing with Thread Jamming
Thread jamming is a common issue that can disrupt your sewing flow․ If this occurs, gently remove the tangled thread and rethread the machine following the manual’s guide․ Ensure the thread passes correctly through the tension discs and take-up lever․ Turn the hand wheel clockwise to raise the needle before removing any fabric․ Cut the thread close to the spool to prevent loose ends․ Regularly clean the machine to avoid dust buildup, which can contribute to jams․ Always check the bobbin area for tangled thread and adjust tension settings as needed․
Fixing Uneven or Loose Stitches
Uneven or loose stitches can be resolved by adjusting the stitch length and tension settings․ Ensure the bobbin tension is not too tight or loose, as it cannot be adjusted manually․ Check the bobbin area for tangled thread and clean it if necessary; Retrace the threading process to confirm it aligns with the manual’s guidelines․ Use a stabilizing material like interfacing for delicate fabrics․ Regular cleaning of the machine’s interior can also prevent stitch irregularities caused by dust buildup․ Always test stitches on scrap fabric before sewing your final project․
Maintenance and Care Tips
Regularly clean the machine with a soft brush, removing dust and debris․ Lightly oil moving parts to ensure smooth operation․ Store the machine in a dry, cool place, away from direct sunlight, to preserve its functionality and longevity․
Cleaning the Machine Regularly
Regular cleaning is essential for maintaining the performance of your Little Sew and Sew machine․ Turn off and unplug the machine before cleaning․ Use a soft-bristled brush to gently remove dust, thread scraps, and debris from the exterior and internal components․ Avoid using harsh chemicals or liquids, as they may damage the machine․ For stubborn dirt, a slightly damp cloth can be used, but ensure all parts are dry before operation․ Clean after each use to prevent fabric residue buildup and ensure smooth stitching․ Regular maintenance will extend the machine’s lifespan and keep it functioning optimally․
Storing the Machine Properly
Proper storage is crucial for maintaining the Little Sew and Sew machine’s performance and longevity․ Always store the machine in a cool, dry place, away from direct sunlight and humidity․ Use a protective cover to shield it from dust and debris․ Ensure the machine is powered off and unplugged before storage․ Keep the machine and its accessories, such as bobbins and needles, in a separate, organized container․ This will prevent damage and ensure the machine remains ready for use when needed․
The Little Sew and Sew manual provides a comprehensive guide to mastering the mini sewing machine․ With proper care and practice, users can unlock its full potential, creating endless sewing possibilities while enjoying the convenience of its portability and user-friendly design․
The Little Sew and Sew manual provides essential guidance for optimal use of the mini sewing machine․ It covers setup, threading, basic operations, and advanced techniques, ensuring versatility for various sewing tasks․ Key points include maintaining proper thread tension, using the hand wheel for control, and regular cleaning for longevity․ Emphasizing safety and portability, this manual helps users maximize the machine’s potential while fostering creativity and efficiency in their sewing projects․
Encouragement to Practice and Experiment
Practice is key to mastering the Little Sew and Sew machine․ Experiment with different fabrics, stitches, and techniques to explore its full potential․ Don’t hesitate to try new patterns or adjust settings to achieve desired results․ As you gain confidence, you’ll unlock the machine’s versatility․ Remember, every project is an opportunity to learn and improve․ Embrace creativity, and enjoy the satisfaction of crafting something unique with your portable sewing companion․