
Welcome to the Nikon D3100 Owner’s Manual, your comprehensive guide to mastering this versatile DSLR camera․ This manual provides detailed instructions, tips, and troubleshooting to help you unlock its full potential and enhance your photography experience․
Overview of the Nikon D3100 Camera
The Nikon D3100 is a high-quality DSLR camera designed for both beginners and photography enthusiasts․ It features a 14;2-megapixel CMOS sensor, EXPEED 2 image processing, and full HD video recording capabilities․ With an ISO range of 100-12,800 and 11-point autofocus, it delivers sharp, detailed images in various lighting conditions․ Its lightweight and durable design make it portable and easy to handle, offering a perfect balance of performance and versatility for capturing life’s moments․
Purpose of the Owner’s Manual
The Nikon D3100 Owner’s Manual is designed to help users understand and utilize the camera’s features effectively․ It provides detailed instructions for setup, menu navigation, and troubleshooting, ensuring optimal performance․ This guide covers camera maintenance, image transfer, and advanced settings, serving as a comprehensive reference for beginners and experienced photographers alike to maximize their photography experience and resolve common issues efficiently․
Camera Features and Specifications
The Nikon D3100 boasts a 14․2-megapixel CMOS sensor, HD video recording, and intuitive shooting modes․ Its compact design and advanced features make it ideal for photographers of all levels․
Key Features of the Nikon D3100
The Nikon D3100 features a 14․2-megapixel CMOS sensor, EXPEED 2 image processing, and an ISO range of 100-12,800․ It supports Full HD video recording at 1080p, with continuous autofocus during filming․ The camera includes an 11-point autofocus system, a 3-inch LCD screen, and a built-in pop-up flash․ It also offers scene modes and Guide Mode for beginners, making it versatile for both casual and advanced photography․
Technical Specifications
The Nikon D3100 features a 14․2-megapixel CMOS sensor, EXPEED 2 image processor, and ISO sensitivity up to 12,800․ It captures Full HD 1080p video and includes an 11-point autofocus system․ The camera measures 124mm x 96mm x 74․5mm and weighs approximately 505g․ It supports SD, SDHC, and SDXC memory cards, with a 3-inch LCD screen for image preview and menu navigation․

Unpacking and Accessories
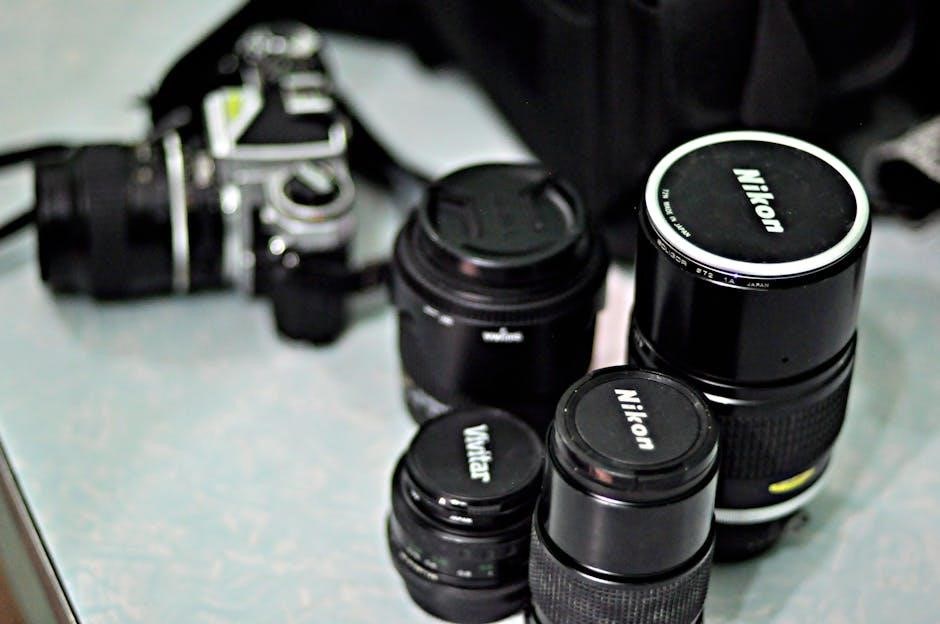
The Nikon D3100 comes with a camera body, rechargeable battery, charger, neck strap, and owner’s manual․ Additional accessories like lenses and tripods are recommended for enhanced functionality․
What’s Included in the Box
The Nikon D3100 box includes the camera body, a rechargeable lithium-ion battery (EN-EL14), battery charger (MH-24), neck strap, and the owner’s manual․ Additional items like a USB cable for data transfer and a lens cap may also be provided․ Ensure all components are accounted for before initial setup to ensure proper functionality and ease of use․
Recommended Accessories
To enhance your Nikon D3100 experience, consider additional accessories like extra EN-EL14 batteries, high-speed memory cards, and a tripod for stability․ A remote shutter release or wireless remote reduces camera shake․ Lens filters and a camera bag protect your gear․ Optional lenses expand creativity, while Nikon Transfer 2 software streamlines image transfer․ These accessories ensure optimal performance and versatility for various photography needs․
First-Time Setup
Start by inserting the EN-EL14 battery and SD/SDHC/SDXC memory card․ Charge the battery fully before first use․ Power on the camera and set language, time, and date preferences to complete the initial setup process․
Inserting the Battery and Memory Card
To power up your Nikon D3100, insert the EN-EL14 rechargeable lithium-ion battery into the battery compartment located on the bottom of the camera; Ensure the battery is properly aligned and clicks into place․ Next, open the memory card slot on the right side and insert a compatible SD, SDHC, or SDXC card with the label facing outward․ Gently push the card until it clicks to secure it․ Always charge the battery fully before first use and format the memory card in the camera for optimal performance․
Charging the Battery
To charge the Nikon D3100’s EN-EL14 battery, use the supplied MH-24 charger․ Plug the charger into a power outlet and insert the battery, ensuring it aligns correctly․ The charging indicator will glow red during charging and turn green when complete․ Avoid overcharging, as it may reduce battery life․ The battery typically takes 2 hours to fully charge․ Always use Nikon-approved chargers for safety and optimal performance․
Initial Camera Settings
After inserting the battery and memory card, turn on the camera and navigate to the setup menu․ Set your preferred language, date, and time․ Choose the image quality (JPEG or RAW) and autofocus mode․ Set the shooting mode to Auto or Manual, depending on your preference․ Customize white balance and ISO settings for optimal results․ Save your settings to ensure they are applied during future use․

Understanding Camera Controls and Buttons
Familiarize yourself with the Nikon D3100’s external controls, including the mode dial, command dial, and navigation buttons․ These buttons allow you to adjust settings, access menus, and customize functions for a seamless shooting experience․
External Controls Overview
The Nikon D3100 features a user-friendly layout with key controls easily accessible․ The mode dial on top allows quick selection of shooting modes, while the command dial adjusts settings like aperture and shutter speed․ Rear controls include the multi-selector for navigation, live view button, and info button to toggle the LCD display․ The shutter release and AF-On button are conveniently placed for intuitive operation during shooting․
Customizing Camera Buttons
The Nikon D3100 allows customization of camera buttons to suit your shooting style․ Access the custom settings menu to assign functions to buttons like AE-L/AF-L or the Fn button․ Popular customizations include setting AE-L/AF-L to lock exposure or focus and assigning ISO or white balance to the Fn button for quick adjustments․ This feature enhances efficiency and personalizes your workflow during photography sessions․
Mode Dial and Shooting Modes
The Nikon D3100’s mode dial offers quick access to various shooting modes, making it easy to adapt to different photography situations․ Explore a range of settings from automatic to manual modes to enhance your creative control․
Understanding the Mode Dial
The mode dial on the Nikon D3100 allows quick access to various shooting modes, enabling you to adapt to different photography situations effortlessly․ From Auto Mode to Manual Mode, Scene Modes, and effects like Night Portrait or Landscape, the dial simplifies switching between settings․ Each mode is designed to optimize camera behavior for specific conditions, helping you capture stunning images with minimal effort and creative control․
Exploring Different Shooting Modes
The Nikon D3100 offers a variety of shooting modes to suit every photography need․ Auto Mode is ideal for beginners, while Manual Mode provides full creative control․ Scene Modes like Portrait, Landscape, and Night Portrait optimize settings for specific scenarios․ Additionally, effects like Night Vision and Miniature Effect allow for unique artistic expressions․ Each mode is designed to enhance your photography experience, ensuring you capture stunning images in any situation․
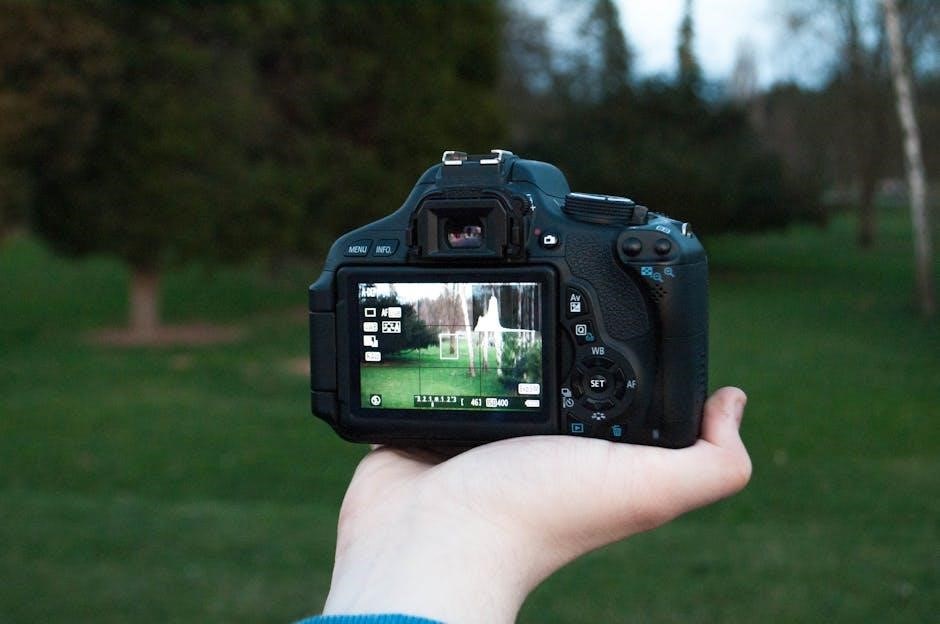
Using the LCD Screen and Viewfinder
The LCD screen and optical viewfinder are essential tools for composing and reviewing shots․ The LCD provides a clear preview of images and access to menu settings, while the viewfinder offers precise framing and focus․ Together, they enhance your ability to capture sharp, well-composed photos with ease and precision․
Navigating the Information Display
The Nikon D3100’s information display provides quick access to shooting settings like ISO, white balance, and autofocus mode․ Use the D-pad to navigate through options and press OK to select․ Customize the display to show only essential data, streamlining your workflow․ This feature helps you make adjustments efficiently while maintaining focus on your subject and composition․
Adjusting LCD Screen Settings
Adjust the Nikon D3100’s LCD screen settings for optimal viewing․ Use the D-pad to navigate to the Setup menu and select “LCD Brightness” to adjust the screen’s brightness․ You can also tweak the contrast for better visibility․ These adjustments ensure the LCD displays images accurately, aiding in composition and review․ Customize settings to suit your shooting environment for enhanced usability․
Using the Optical Viewfinder
The Nikon D3100’s optical viewfinder provides a clear, eye-level preview of your scene․ Use the diopter adjustment to fine-tune focus for your vision․ Framing your shot through the viewfinder helps stabilize the camera and saves battery life․ It displays key shooting information like focus points and metering mode․ Customize the viewfinder’s display settings via the menu for a tailored experience, enhancing your shooting comfort and precision․

Shooting in Automatic Mode
Auto Mode simplifies photography by automatically adjusting settings․ Ideal for beginners, it lets you focus on composition while the camera handles exposure, focus, and flash․ Effortlessly capture sharp, well-lit images with minimal effort․
Using Auto Mode for Beginners
Auto Mode is perfect for newcomers to photography․ It automatically adjusts exposure, focus, and ISO, allowing you to focus on composition and creativity․ Ideal for everyday snapshots, it simplifies the learning process while delivering well-balanced results․ Use it to capture sharp, vibrant images with minimal effort, making it an excellent starting point for mastering the Nikon D3100․
Understanding Auto Mode Limitations
Auto Mode simplifies photography but lacks manual controls, limiting creative freedom․ It may struggle in low-light conditions and doesn’t allow adjustments to aperture, shutter speed, or ISO․ While ideal for beginners, advanced photographers may find it restrictive for precise control over image settings and artistic expression․ Understanding these limitations helps transition to manual modes for better results․
Manual Mode and Advanced Settings
Manual Mode offers full control over aperture, shutter speed, and ISO, enabling precise adjustments for creative photography․ This section guides you through advanced settings to enhance your skills․
Manual Mode on the Nikon D3100 gives you full control over aperture, shutter speed, and ISO, allowing for precise adjustments to capture your creative vision․ Designed for experienced photographers, this mode enables fine-tuning of settings to achieve desired effects․ It’s ideal for learning photography fundamentals and experimenting with advanced techniques․ This section provides a foundation for understanding and effectively using Manual Mode to enhance your photography skills․
Using Aperture and Shutter Priority Modes
Aperture Priority Mode (A/Av) lets you set the aperture, while the camera adjusts the shutter speed․ This is ideal for controlling depth of field, such as blurring backgrounds or sharpening landscapes․ Shutter Priority Mode (S/Tv) allows you to set the shutter speed, with the camera adjusting the aperture, perfect for capturing motion or creating artistic effects like motion blur․
Adjusting ISO and White Balance
Adjusting ISO and White Balance on your Nikon D3100 allows precise control over image quality․ ISO ranges from 100 to 12,800, with lower values ideal for bright conditions to minimize noise․ Higher ISOs are best for low-light situations but may introduce grain․ White Balance ensures accurate color representation by matching the light source․ Options include Auto, Daylight, Fluorescent, and more․ Custom White Balance can be set using a grey card or white surface for optimal results․

Menu System Navigation
The Nikon D3100’s menu system provides intuitive access to various settings; Navigate through Playback, Shooting, Setup, and Custom Settings menus using the multi-selector and OK button․ Easily customize camera functions to enhance your photography experience․
Playback Menu Options
The Playback Menu offers tools to manage and enhance your images․ View, delete, or protect photos, and create slide shows․ Access these features using the multi-selector and OK button․ Utilize options like After Delete and Slide Show for convenient image management․ Protect important images from accidental deletion and organize your photos efficiently for a seamless post-shooting experience․
Shooting Menu Options
The Shooting Menu provides essential settings to customize your photography experience․ Adjust image quality, white balance, and ISO sensitivity․ Select from various AF-area modes and metering options․ Access noise reduction settings and HDR options․ These features allow you to fine-tune your camera settings for optimal results in different shooting conditions, ensuring sharp and vibrant images every time․
Setup Menu Options
The Setup Menu allows you to configure general camera settings for personalized use․ Adjust language preferences, set the date and time, and customize auto-shutdown timers․ Additional options include formatting memory cards and selecting firmware version information․ These settings ensure your camera is tailored to your preferences, optimizing performance and usability for a seamless photography experience․
Custom Setting Menu Options
The Custom Setting Menu offers advanced adjustments to tailor camera behavior to your preferences․ Adjust autofocus modes, metering options, and ISO sensitivity settings․ Customize bracketing, flash control, and noise reduction․ Additional options include setting the camera’s color space and defining button functions․ These settings enable precise control, allowing you to refine your shooting techniques and achieve consistent results in various photography scenarios․
Image Transfer and Storage
Welcome to the Image Transfer and Storage section․ Learn how to transfer images using Nikon Transfer 2 and best practices for storing your photos securely․
Transferring Images to a Computer
To transfer images from your Nikon D3100 to a computer, use the Nikon Transfer 2 software․ Connect the camera via USB, launch the software, and follow the prompts to select and transfer photos․ You can organize images into folders and choose a destination on your computer․ This method ensures your photos are safely stored and easily accessible for editing and sharing․
Using Nikon Transfer 2 Software
Nikon Transfer 2 software simplifies image transfer from your D3100 to a computer․ Connect the camera via USB, launch the software, and select the images to transfer․ The program allows you to organize photos into folders and choose a destination․ It also offers options for automatic backup and image organization, making it a convenient tool for managing your photography workflow efficiently․
- Transfer images directly via USB connection․
- Organize photos into customizable folders․
- Automatically backup your images for safe storage․
Best Practices for Image Storage
Properly storing your Nikon D3100 images ensures they remain safe and organized․ Use external hard drives or cloud storage for backups, and avoid overfilling memory cards․ Always format cards in the camera, not on a computer, and keep copies in multiple locations to prevent data loss․ This approach helps maintain your photo library’s integrity and accessibility for years to come․
- Backup images to external drives or cloud storage․
- Organize photos into clear, date-labeled folders․
- Format memory cards only in the camera․
- Maintain multiple copies of important files․

Camera Maintenance and Care
Regularly clean the camera and lens with soft cloths to prevent dust buildup․ Update firmware periodically to ensure optimal performance and compatibility with new features and accessories․
Cleaning the Camera and Lens
Regular cleaning prevents dust and smudges from affecting image quality․ Use a soft, dry microfiber cloth to gently wipe the camera body and lens surfaces․ For stubborn smudges, dampen the cloth slightly with distilled water, but avoid harsh chemicals․ Never touch the lens surface with your fingers, as oils can leave residue․ Clean the viewfinder and LCD screen with a similar gentle approach to maintain clarity and functionality․
Updating Firmware
Updating your Nikon D3100’s firmware is essential for improving performance and adding new features․ First, check the current firmware version in the camera menu․ Visit Nikon’s official website to download the latest firmware․ Place the downloaded file on an SD card in the correct folder․ Insert the card into the camera, navigate to the firmware update option in the menu, and follow the on-screen instructions․ Ensure the camera has sufficient battery or is powered via an AC adapter to prevent interruptions during the update․ Avoid turning off the camera until the update is complete․ After the update finishes, restart the camera and verify the firmware version․ For any issues, refer to Nikon’s support resources or contact their customer service․
Regular Maintenance Tips
Regular maintenance ensures your Nikon D3100 performs optimally․ Clean the camera body and lens with a soft, dry cloth, avoiding harsh chemicals․ Use a blower to remove dust from the sensor and mirror․ Check for firmware updates to keep your camera up-to-date․ Store the camera in a cool, dry place away from direct sunlight․ Use a UV filter to protect the lens and avoid scratches․ Always handle the camera with care to prevent physical damage․ For deep cleaning or complex repairs, consult a professional technician to maintain warranty and functionality․ Regular checks and proper storage will extend the life of your equipment․

Troubleshooting Common Issues
Troubleshooting helps resolve issues like error messages, firmware glitches, or camera malfunctions․ Restarting the camera, checking settings, and updating firmware often fix problems․ Consult the manual or Nikon support for detailed solutions to ensure optimal performance and address specific camera-related concerns effectively․
Resolving Error Messages
When error messages appear, such as “CARD” or “Err,” check the memory card for damage or formatting issues․ Restart the camera and ensure the card is properly inserted․ Clean the lens and camera contacts if ” Err” persists․ Refer to the manual for specific error codes and solutions․ Updating firmware and resetting settings can often resolve software-related issues․ Always consult Nikon support for persistent problems to ensure optimal functionality and prevent further complications․
Fixing Common Camera Malfunctions
Common issues like the camera not turning on or failing to focus can often be resolved by checking the battery level or memory card errors․ Clean the lens and camera contacts regularly to prevent malfunction․ If the camera freezes, restart it or reset settings to default․ For persistent autofocus problems, ensure the lens is properly attached and free of debris․ Updating firmware and consulting the manual or Nikon support can address more complex issues effectively․
Mastering the Nikon D3100 requires practice and exploration․ Refer to this manual for guidance and explore additional resources for continued learning and improvement in photography․
Final Tips for Getting the Most Out of Your Nikon D3100
To maximize your Nikon D3100’s potential, experiment with different shooting modes and settings․ Regularly clean the camera and lens for optimal performance․ Use Nikon Transfer 2 for seamless image transfers and consider updating firmware for the latest features․ Explore additional resources like Nikon’s official guides for advanced techniques․ Backup your images frequently and practice regularly to refine your skills․
Additional Resources for Further Learning
For deeper understanding, explore Nikon’s official website, which offers detailed guides, firmware updates, and the Nikon Manual Viewer 2 app․ Download the PDF manual for comprehensive instructions․ Join photography forums and workshops to enhance your skills․ Utilize online tutorials and Nikon Transfer 2 software for image management․ These resources will help you master your D3100 and unlock advanced photography techniques․