
The Nissan 240SX is a popular platform for enthusiasts seeking enhanced performance. Swapping to a manual transmission boosts control and driving engagement, making it a preferred modification.
1.1 Overview of the 240SX Platform
The Nissan 240SX, produced from 1989 to 1998, is a rear-wheel-drive sports car renowned for its sturdy chassis and popularity in drifting and tuner circles. Available in S13 and S14 generations, it features engines like the SR20DET, making it a favorite for modifications. Its balance and durability make it ideal for manual transmission swaps, enhancing driving engagement and performance.
1.2 Benefits of a Manual Transmission Swap
A manual transmission swap enhances performance, control, and fuel efficiency. It offers better driver engagement, reliability, and cost savings. Improved acceleration and precise gear control make it ideal for enthusiasts. The swap also increases the car’s value and provides a more satisfying driving experience overall.
Reasons for Swapping to a Manual Transmission
Swapping to a manual transmission enhances performance, improves fuel efficiency, and increases driver engagement. It also offers cost savings and greater reliability in the long run.
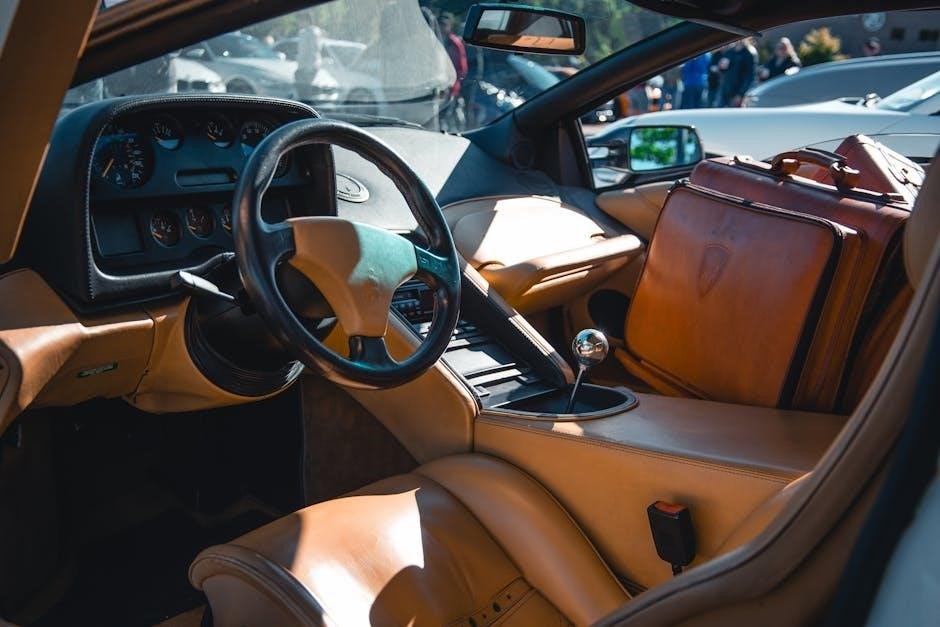
2.1 Improved Performance and Control
A manual transmission swap enhances acceleration and throttle response, providing drivers with precise control over gear shifts. This leads to better handling and responsiveness, especially during spirited driving. The direct connection between the engine and wheels improves overall performance, making the 240SX more agile and enjoyable to drive.
2.2 Cost Efficiency and Reliability
A manual transmission swap can be cost-effective, offering long-term savings on maintenance and repairs. Manuals are generally more durable and require less complex parts, reducing overall expenses. This swap enhances reliability, making it a practical choice for drivers seeking a dependable and economical solution.
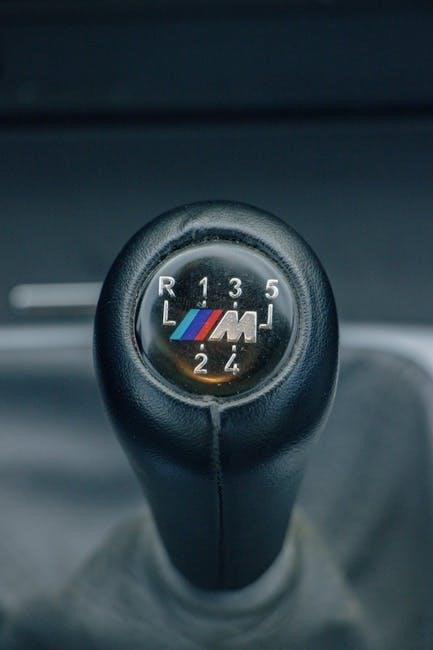
2;3 Driver Engagement and Satisfaction
A manual transmission swap enhances driver engagement by providing precise control over gear shifts, fostering a deeper connection with the vehicle. This hands-on experience increases satisfaction, making driving more enjoyable and interactive, especially for enthusiasts who value a more immersive and connected driving experience behind the wheel.

Preparation for the Manual Transmission Swap
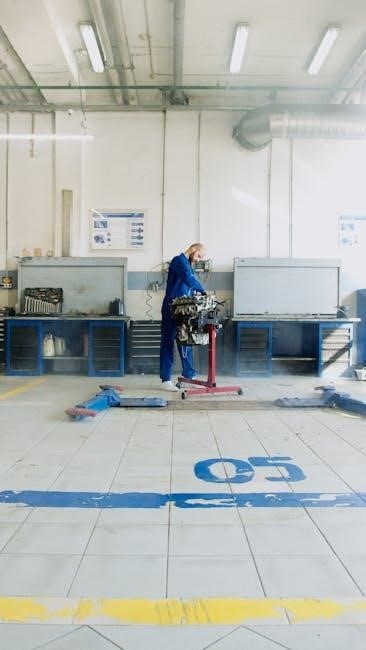
Preparation involves gathering specialized tools, securing necessary parts, and ensuring the vehicle is safely lifted and supported. Proper planning and organization are crucial for a smooth process.
3.1 Tools and Equipment Needed
A transmission jack, socket set, wrenches, and pry bars are essential. Additional tools include a drain pan, torque wrench, and penetrating oil. Safety gear like gloves and goggles is crucial. Ensure all equipment is in good condition to avoid complications during the swap process.
3.2 Parts and Components Required
Key components include a manual transmission, clutch kit, flywheel, and driveshaft. Additional parts are a transmission crossmember, shifter assembly, and hydraulic clutch line. Ensure compatibility with your 240SX model and engine setup. Source high-quality parts to ensure reliability and smooth operation post-swap.
3.3 Vehicle Setup and Safety Precautions
Ensure the vehicle is securely lifted on jack stands and disconnected from the battery. Wear protective gear, including gloves and goggles. Properly support the transmission area to avoid damage. Double-check all connections before starting work. Follow safety guidelines to prevent injuries and ensure a smooth swap process.
Step-by-Step Manual Transmission Swap Process
Remove the automatic transmission, install the manual unit, and connect the driveshaft and linkage. Ensure all components are securely fastened and properly aligned for optimal performance.
4.1 Removing the Automatic Transmission
Begin by disconnecting the battery to prevent electrical issues. Drain the automatic transmission fluid and remove the transmission pan. Use a transmission jack to support the unit. Carefully disconnect the driveshaft, cooler lines, and electrical connectors. Finally, unbolt the transmission from the engine and slide it out slowly to avoid damage.
4.2 Installing the Manual Transmission
Ensure the area is clean and prepare the manual transmission for installation. Slide the manual transmission into place, aligning it with the engine. Secure it using the appropriate bolts, ensuring proper torque specifications. Connect the clutch actuator, gear linkage, and any electrical connectors. Double-check alignment and tighten all connections firmly. Consult a service manual for specific torque specs.
4.3 Connecting the Driveshaft and Linkage
Ensure the driveshaft is compatible with the manual transmission. Align the driveshaft with the transmission output shaft, securing it with the center bearing and mounts. Reconnect the gear linkage, verifying proper alignment and smooth operation. Tighten all connections firmly and test the system at low speeds to ensure functionality and avoid vibration issues.
Common Challenges and Solutions
Common challenges include mechanical and electrical issues, driveshaft compatibility, and post-swap troubleshooting. Solutions involve precise alignment, proper adjustments, and thorough testing to ensure smooth operation and reliability.
5.1 Mechanical and Electrical Issues
Mechanical challenges include driveshaft alignment and crossmember clearance. Electrical issues arise with wiring harness compatibility. Proper measurements and adjustments are essential to resolve these problems, ensuring a seamless swap and optimal performance.
5.2 Driveshaft Compatibility and Adjustment
Ensuring driveshaft compatibility is crucial for smooth operation. Proper alignment and length adjustments prevent vibrations and damage. Specialized tools may be needed for precise measurements and modifications. Correct installation ensures optimal power delivery and avoids potential mechanical issues down the road.
5.3 Troubleshooting Post-Swap Problems
Common issues after a manual swap include leaking seals, improper gear engagement, or electrical faults. Inspect connections, check fluid levels, and ensure proper clutch alignment. Addressing these promptly prevents further damage and ensures smooth operation. Consulting forums or guides can provide targeted solutions for specific problems encountered during the swap process.
Post-Swap Testing and Tuning
Post-swap testing involves initial drives to ensure smooth operation. Adjust the clutch and gearbox for optimal performance. Fine-tune settings for enhanced driving experience and reliability.
6.1 Initial Test Drive and Inspection
After completing the swap, conduct a short test drive to assess clutch engagement, shifting smoothness, and overall transmission functionality. Inspect for leaks, unusual noises, or vibrations. Ensure all components are securely connected and perform as expected. This step is crucial for identifying potential issues early on, ensuring reliability and safety.
6.2 Adjusting the Clutch and Gearbox
Post-swap, fine-tune the clutch master and slave cylinders for proper engagement; Adjust the gear linkage to ensure smooth shifting and precise control. Verify the clutch pedal’s free play and overall operation. These adjustments ensure optimal performance, preventing premature wear and enhancing driver experience; Proper alignment and tension are critical for reliable operation.
6.3 Fine-Tuning for Optimal Performance
After the swap, fine-tune the clutch engagement point and gear linkage for smooth operation. Adjust the driveshaft alignment and tighten all connections. Ensure proper shifter alignment and lubrication. Test acceleration and shifting under various conditions to optimize performance and reliability, enhancing both power delivery and driving experience.
Cost Comparison: DIY vs. Professional
DIY manual swaps cost between $500-$1,000, including parts. Professional installations range from $2,000-$3,500, covering labor and expertise. Savings vary based on tools and labor availability.
7.1 Estimated DIY Costs
DIY manual swaps typically cost between $500 to $1,500, covering transmission, clutch, and essential hardware. Additional expenses include tools and potential modifications, varying based on the transmission chosen and existing parts availability.
7.2 Professional Installation Costs
Professional manual transmission swaps range from $1,500 to $3,000, depending on the shop and transmission type. Labor costs dominate, with additional fees for custom work or parts replacement, offering a hands-free solution for those lacking tools or expertise.
7.3 Long-Term Savings and Value
A manual swap enhances fuel efficiency and reduces transmission repair costs over time. Lower maintenance needs and increased resale value make it a cost-effective upgrade, appealing to both enthusiasts and practical owners seeking long-term benefits.
Community Support and Resources
The 240SX community offers extensive support through online forums and tutorials. Local workshops provide hands-on experience, while recommended toolkits and guides ensure a smooth manual swap process.
8.1 Online Forums and Tutorials
Online forums like Reddit’s r/240sx and Nissan enthusiast communities provide detailed guides and real-world experiences. YouTube tutorials and build playlists, such as the S13 coupe manual swap, offer step-by-step visual aids. These resources cover everything from part selection to troubleshooting, making the swap more accessible for DIY enthusiasts.
8.2 Local Workshops and Meetups
Local workshops and meetups provide hands-on guidance and networking opportunities. Enthusiasts often host events where they share knowledge and experience with manual swaps. These gatherings offer practical advice, live demonstrations, and troubleshooting tips, making them invaluable for those undertaking a 240SX manual transmission swap. Face-to-face interaction enhances learning and problem-solving.
8.3 Recommended Toolkits and Guides
A comprehensive toolkit is essential for a successful swap. Specialized tools like a transmission jack, socket set, and torque wrench are crucial. Detailed repair manuals and online tutorials provide step-by-step guidance. Community-recommended guides and checklists ensure preparedness, helping enthusiasts avoid common pitfalls during the manual transmission swap process.
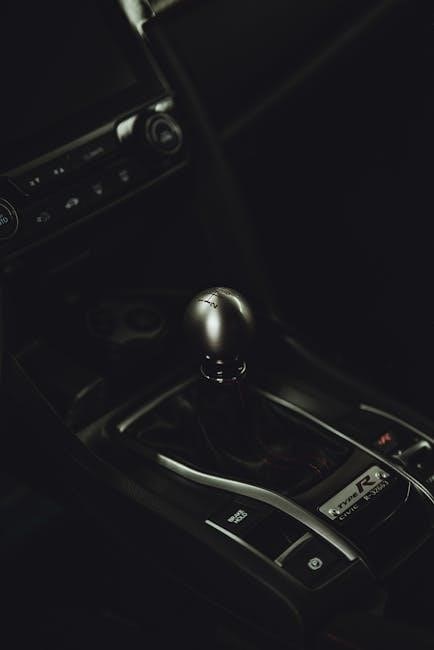
Popular Manual Transmissions for Swap
Popular manual transmissions for the 240SX include the Nissan SR20DET-compatible units, Mazda MX-5 Miata gearboxes, and Honda S2000 transmissions, offering enhanced performance and reliability.
9.1 Nissan SR20DET Compatible Transmissions
For the 240SX, the Getrag V160 and Nissan CD009 transmissions are popular choices for SR20DET swaps. These units offer excellent compatibility, smooth shifting, and improved performance. They are known for their strength and reliability, making them ideal for both street and track use. Ensure compatibility with your specific engine and setup for optimal results.
9.2 Aftermarket and Performance Options
Enthusiasts can opt for aftermarket transmissions like the Mazda RX-8’s 6-speed or the Toyota Supra’s Getrag V160. These offer enhanced gearing and strength for high-performance applications. Upgraded clutches and lightweight flywheels further improve acceleration and responsiveness, catering to those seeking superior driving dynamics and durability in their 240SX builds.
9.3 Recommendations Based on Budget
For budget-friendly swaps, consider the Nissan 5-speed or 6-speed transmissions. Mid-range options include refurbished Mazda or Toyota units. High-end enthusiasts can opt for the Getrag V160, offering superior durability and performance. Each choice balances cost and functionality, ensuring a reliable manual transmission swap tailored to individual financial constraints and performance goals.
Tools and Equipment Essential for the Swap
A transmission jack, slide hammer, and angle grinder are crucial. Essential tools include a socket set, wrenches, and jack stands. Safety gear like gloves and protective eyewear is mandatory.
10.1 Specialized Tools for Transmission Work
Specialized tools include a transmission jack to safely lower and raise the unit, a slide hammer for pulling components, and an angle grinder for modifications. Grease and hydraulic presses are also essential for bearings and seals. Additionally, custom adapters may be needed for specific transmission models to ensure compatibility and proper installation.
10.2 Essential Hardware and Fasteners
Essential hardware includes transmission mounts, crossmembers, and driveshaft components. High-strength fasteners, such as Grade 8 or 10.9 bolts, are critical for securing the transmission and drivetrain. Additionally, pilot bearings and adapter plates ensure compatibility between the engine and transmission, while seals and gaskets prevent leaks and ensure proper operation.
10.3 Safety Gear and Workspace Setup
Ensure a safe workspace with jack stands, wheel chocks, and gloves. Use goggles for eye protection and a fire extinguisher nearby. Secure the car on a level surface and drain fluids properly. A well-lit, clean area prevents accidents and ensures visibility during the swap process.
Completing a manual transmission swap on your 240SX is rewarding, offering improved performance and control. With proper planning and execution, it enhances driving satisfaction and connection to your vehicle.
11.1 Summary of the Swap Process
The 240SX manual transmission swap involves removing the automatic transmission, installing a compatible manual unit, and connecting the driveshaft and linkage. Proper preparation, tools, and alignment are crucial. Post-swap testing ensures functionality, with adjustments made for optimal performance. This process enhances driving experience and vehicle control significantly.
11.2 Final Tips for a Successful Swap
Ensure thorough preparation, use proper tools, and align components carefully. Double-check connections and test drive immediately post-swap. Seek community support for troubleshooting and leverage online guides for clarity. Patience and attention to detail are key for a seamless and rewarding manual transmission swap experience.
11.3 Encouragement for DIY Enthusiasts
Embrace the challenge of a manual transmission swap as a rewarding DIY project. With patience and dedication, you’ll gain hands-on knowledge and pride in transforming your 240SX. Engage with online communities for support, and remember, overcoming obstacles is part of the journey. The end result is deeply fulfilling and empowering.